Bow Drawing - Simple Ways To Create Lovely Designs
Humanized Version
Adding a sweet little ribbon shape to your pictures can truly make them shine. It’s a small detail, yet it gives a feeling of extra care and charm to anything you are creating. Think about how a tiny flourish on a gift can make it feel more special; a drawn bow does something very similar for your artwork, you know. It’s a simple touch that often makes a big difference in how your finished piece looks and feels, actually.
Many folks might think drawing something like a bow would be tricky, but honestly, it’s quite easy to learn. We’re talking about those pretty fabric or ribbon bows, the kind you see on presents, in people’s hair, or decorating clothes. These aren’t some complex artistic feats; they are, in a way, just a few simple shapes put together in a pleasing fashion. You can, for instance, doodle them in your notebook to give off that charming, delicate look, or you could add them to a character in a story you are sketching out, too.
Today, we’re going to walk through how to make several different kinds of bows appear on your page. We’ll show you that getting started with bow drawing is quick and pretty straightforward, so you can likely finish your very first bow picture today. With some clear directions and perhaps a helpful video lesson, you’ll be able to create these cute additions without much fuss at all, like your favorite artist might do, you know.
Table of Contents
- Why Add Bows to Your Drawings?
- Is Learning Bow Drawing Easy?
- What Kinds of Bows Can You Create?
- How Do You Make Your Bow Drawings Pop?
Why Add Bows to Your Drawings?
You might wonder why a simple bow would be worth the time to learn how to draw. Well, consider this: a bow can bring a touch of softness and elegance to nearly any image. Think about a character in your drawing, perhaps a whimsical creature or a person. Adding a bow to their hair, on a gift they hold, or even as part of their clothing can really give them more personality, you know. It’s like adding a little sparkle or a finishing flourish that makes the whole picture feel more complete, more thought out, and honestly, just a little bit prettier. It’s a small thing, but it can make a big visual statement, in a way.
These little drawn bows are so versatile, too. You can use them to decorate a plain border around a sketch, making it feel more like a special piece of art rather than just a quick doodle. Or, you could use them as a repeating pattern on a background, giving a sense of texture and fun to your work. They can be a symbol of celebration, a sign of a present, or just a sweet decoration. It’s pretty amazing how much a few curved lines and loops can communicate, isn’t it? This small element, the bow drawing, actually offers a lot of creative possibilities for anyone who likes to put pen to paper.
For those who enjoy a particular kind of look, like the "coquette aesthetic" that's quite popular, drawing bows is almost a must-do. This style often features delicate, pretty things, and bows fit right in with that feel. You can fill pages of your notebook with them, making your sketchbook a truly lovely place to flip through. It’s a way to really get into that gentle, charming mood with your art, and it doesn't take much effort at all, which is rather nice. So, whether you want to add a tiny decorative element or lean into a whole visual style, the bow drawing is a very handy skill to have in your artistic toolkit.
What Makes a Bow Drawing Special?
What gives a bow drawing its particular charm, you might ask? It’s often the way it suggests something tied, something given, or something adorned. When you see a bow, you might think of a birthday present, a neatly tied package, or even a fancy dress, right? This immediate connection to positive, often celebratory, feelings is part of what makes them so appealing in pictures. They are, in a way, little bundles of joy or elegance captured on paper. It's not just about the shape; it's about the feelings and ideas that shape brings with it, too.
A bow, even a simple one, has a natural flow to its lines. There are loops and tails that can be drawn in many different ways, allowing for a lot of personal expression. You can make them plump and round, or long and flowing, depending on the mood you want to create. This flexibility means that no two bow drawings have to be exactly alike, even if they start from the same basic idea. This gives you, the artist, plenty of room to play and experiment, which is pretty cool, honestly. It’s a subject that lets you be creative without being overly complicated, which is a good thing for anyone just starting out, or even for someone who has been drawing for a while, as a matter of fact.
Furthermore, a well-placed bow can draw the eye to a specific spot in your drawing. It acts almost like a little visual arrow, guiding someone's gaze to where you want them to look. If you have a character, a bow on their hat or at their waist can really make that part of the picture stand out. It adds a focal point, a little extra bit of interest that keeps people looking. So, a bow drawing isn't just a pretty addition; it's also a useful tool for composing your artwork, which is something you might not have considered before, you know. It’s a subtle way to direct attention and make your drawing more engaging for anyone who sees it, apparently.
Is Learning Bow Drawing Easy?
The short answer is yes, learning to create a bow drawing is genuinely simple. Many people get worried when they think about drawing anything that looks "fancy," but bows are quite forgiving. You don't need years of art school or a special talent to get started. It's more about following a few basic steps and letting your hand get used to making the shapes. Think of it like learning to tie your shoelaces; at first, it might seem a bit tricky, but once you get the hang of the loops and pulls, it becomes second nature, doesn't it? Drawing a bow is very much like that, honestly.
Our goal here is to show you that with just a little guidance, you can quickly get comfortable with making these charming shapes. We're talking about instructions that are easy to follow, not some complex, multi-page textbook. You'll find that the whole process of creating a bow drawing can be quite fast, which is great if you want to add these touches to your work without spending a lot of time on each one. It's a skill that builds confidence, too, because you see quick results, which is always encouraging when you're learning something new, you know.
There are also plenty of helpful resources out there, like video lessons, that can show you exactly how to do it. Sometimes seeing someone else draw the lines makes all the difference, doesn't it? These visual guides can walk you through each movement, step by step, making it even simpler to pick up. You can pause, rewind, and watch as many times as you need until you feel comfortable. So, if you're looking for a quick and rewarding drawing skill, learning to create a bow drawing is definitely a good place to start, as a matter of fact. It's a very accessible art form, pretty much for everyone.
Getting Started with Simple Bow Drawing Steps
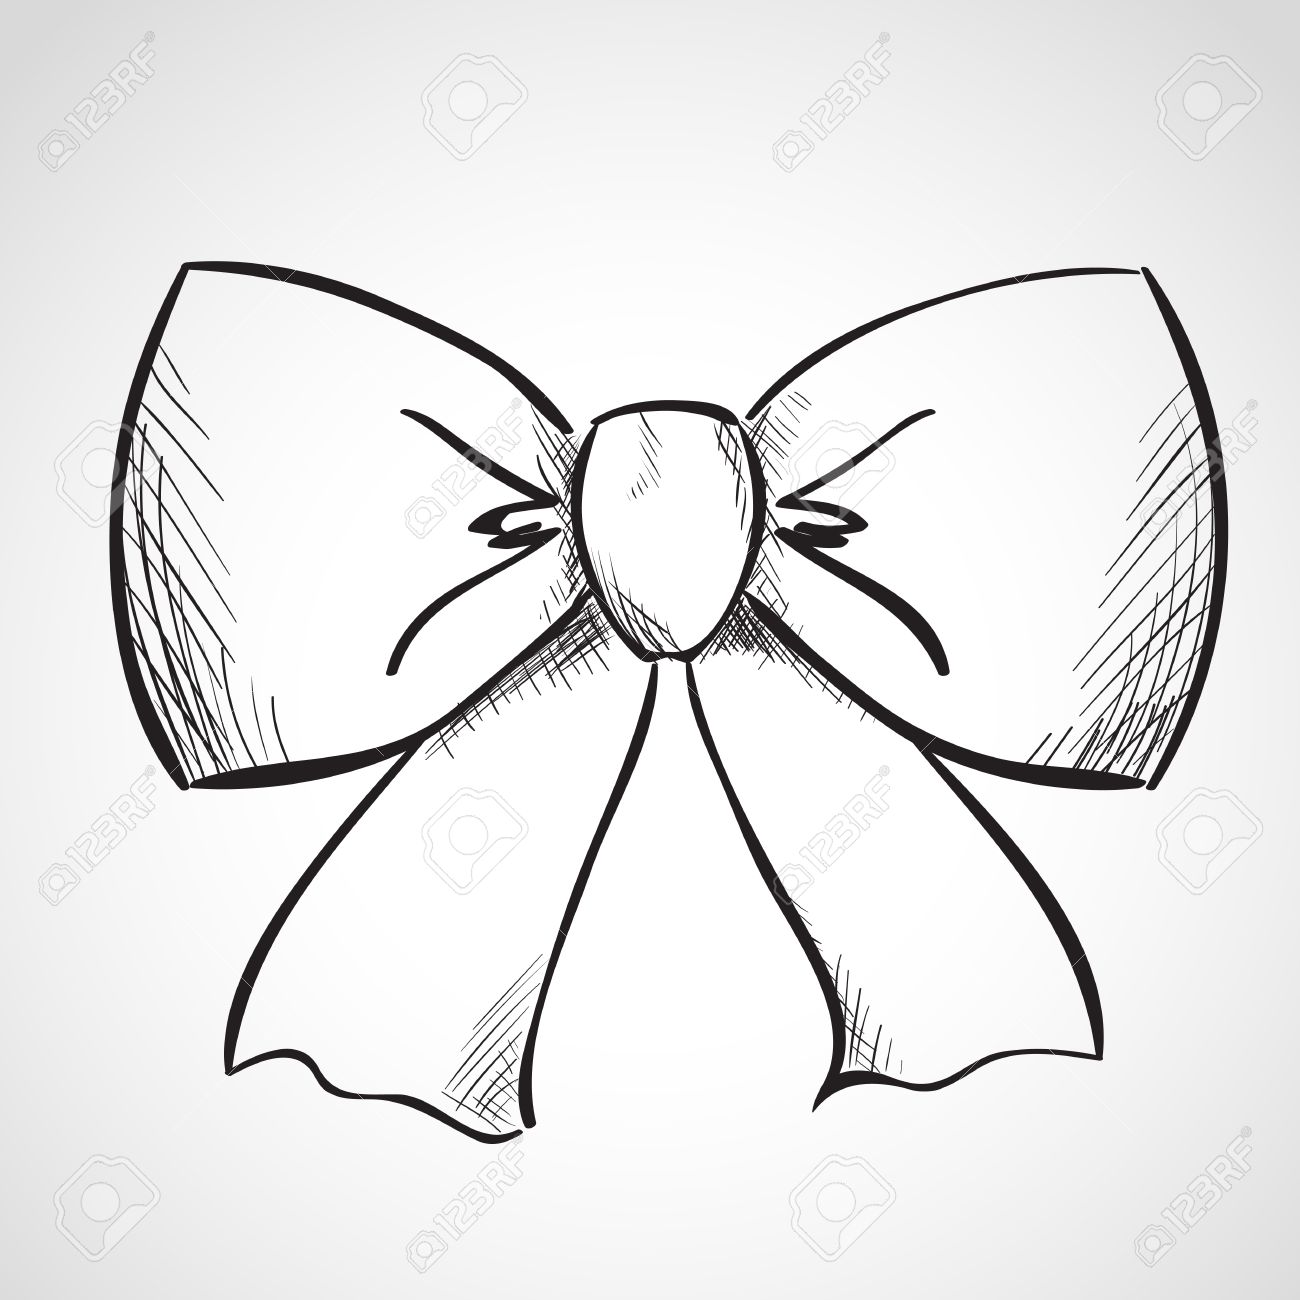
To really get going with your bow drawing, it's best to begin with some very basic shapes and a few light lines to guide you. Think of these as the skeleton of your bow before you add the "skin" and details. You might start with a simple rectangle for the center knot, then two curved lines extending outwards for the loops, and maybe a couple of wavy lines for the tails. These initial marks don't have to be perfect; they are just there to help you place things correctly on your page, you know. It’s like mapping out where everything will go before you commit to the final lines, which can make the whole process feel much less intimidating, actually.
These early steps are what we call foundational, and they really do make the whole process of bow drawing much easier and more organized. Without them, you might find yourself guessing where to put lines, and that can lead to frustration. But with a simple structure laid out, you're just filling in the blanks and refining what's already there. It's a bit like building with blocks; you start with the big pieces, then add the smaller ones. This structured approach is especially helpful for anyone who is just starting out with drawing, as it gives you a clear path to follow, which is quite reassuring, honestly.
Many tutorials, including some you might find online, break down the bow drawing process into a set number of steps, sometimes as few as nine. Each step builds on the last, adding a little more detail or refining a line. This way, you're never overwhelmed by too much to do at once. You just focus on one small task, complete it, and then move to the next. This makes creating a beautiful and detailed bow drawing very achievable, even if you don't have a lot of drawing experience. It's a very manageable way to learn, and you'll likely be surprised at how quickly you can produce something lovely, in a way.
What Kinds of Bows Can You Create?
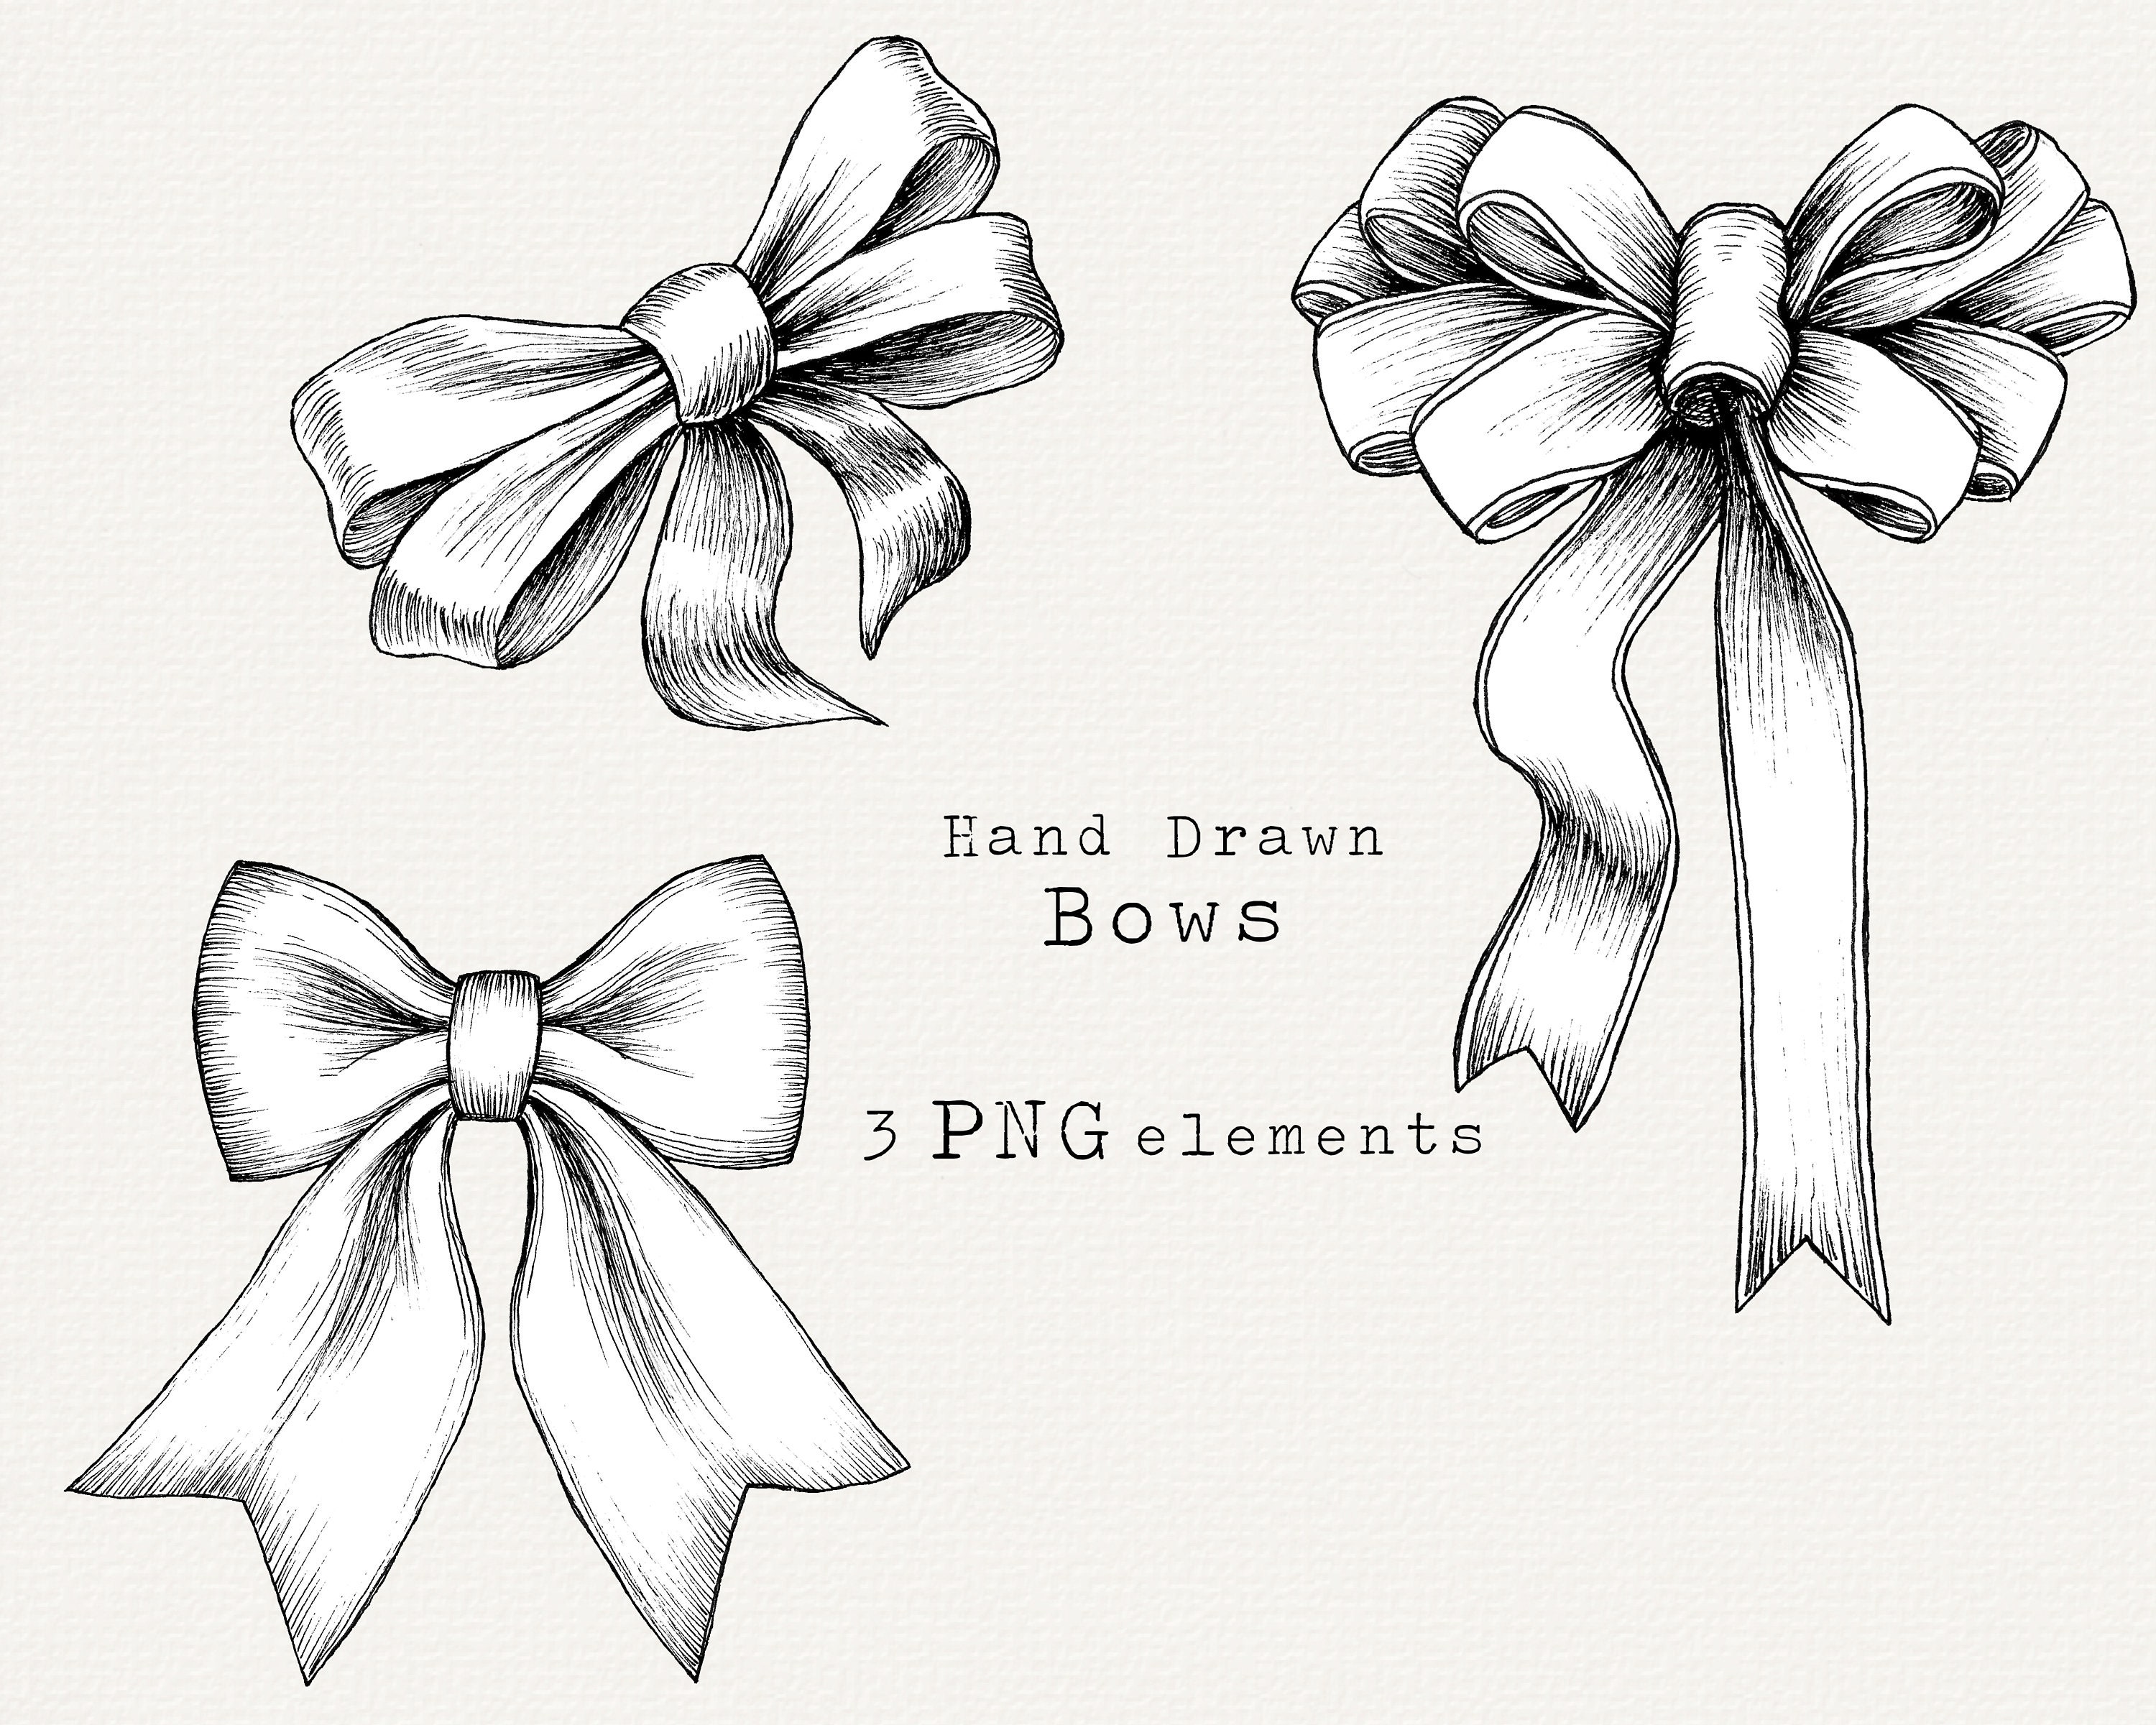
When it comes to bow drawing, you're not limited to just one type. Just like in real life, where bows come in all sorts of shapes and sizes—from the neat, crisp ones on a gift to the soft, flowing ones in someone's hair—you can draw them that way too. You could make a very simple, classic ribbon bow with two loops and two straight tails, or you could try something a little more elaborate. Maybe a bow with multiple layers of ribbon, giving it a fuller, more luxurious look. There's a lot of room for your own artistic flair here, which is pretty neat, you know.
This blog, for instance, aims to give you simple and creative ways to approach bow drawing. We're talking about ideas that range from those cute, everyday ribbon bows that look sweet on a doodle, all the way to more decorative and stylish ones that could add a touch of fancy to a more serious piece of art. You can play with the width of the ribbon, how floppy or stiff the loops appear, and even the length and curl of the tails. Each small change can give your bow a completely different personality, which is quite fun to experiment with, actually. It's like having a whole wardrobe of bows to choose from for your drawings, more or less.
Consider the different places you see bows in the world around you for inspiration. Think about a tiny bow on a pet's collar, or a big, dramatic one on a wedding dress. Each of these real-life examples can spark an idea for your bow drawing. You could try to capture the soft drape of a silk bow or the crispness of a grosgrain ribbon. By observing the way light hits them, or how they fold and crease, you can get a better sense of how to make your drawn bows look more real and interesting. It’s a very practical way to improve your art, by the way, just by looking at things around you, you know.
Exploring Different Bow Drawing Styles
Exploring various styles of bow drawing means you get to decide the mood of your artwork. Do you want something playful and whimsical? Then maybe a plump, rounded bow with short, bouncy tails would be just the thing. If you're aiming for elegance and sophistication, perhaps a long, flowing bow with slender loops and tails that gently curve would be a better fit. The choices are pretty wide open, and each style brings its own feeling to your picture. It's like choosing the right outfit for your drawing; the bow can really set the tone, apparently.
You can also play with the texture you suggest in your bow drawing. Even though it's just lines on paper, you can make it look like velvet, satin, or even rough burlap by how you draw the edges and add very subtle shading. A few tiny, soft lines inside the loops can suggest the softness of fabric, while sharper, cleaner lines might hint at a more rigid material. This level of detail, while not strictly necessary for a simple bow, can truly elevate your work and make it more engaging for the viewer, too. It’s a way to add a bit of realism without making things overly complicated, honestly.
Another way to explore different bow drawing styles is by thinking about how they are tied. Some bows have a very tight knot in the middle, while others look more loosely gathered. Some might have a single loop on each side, while others could have multiple loops stacked on top of each other, creating a very full appearance. Each of these ways of tying a bow in real life translates into a different drawing challenge and a different visual outcome. So, you have a lot of ways to make your bow drawing unique, just by thinking about how it would physically come together, you know. It gives you a lot of creative freedom, as a matter of fact.
How Do You Make Your Bow Drawings Pop?
To make your bow drawings truly stand out and look more like real objects, one of the best things you can do is add shadows in the right spots. Shadows are what give things a sense of roundness and depth, making them look less flat on the page. Think about how a real ribbon bow catches the light; some parts will be brighter, and others will be darker where the fabric folds over itself or where one loop casts a shade on another. Applying this idea to your bow drawing can make a huge difference in how realistic it appears, which is pretty cool, honestly.
You don't need to be an expert in light and shadow to start. Just think about where the light source is coming from in your picture. If the light is coming from the top, then the undersides of the loops and the parts of the tails that fold away from the light will be a bit darker. You can use a lighter touch with your pencil for the brighter areas and press a little harder, or add more layers of shading, for the darker parts. This simple contrast helps to give your bow drawing a three-dimensional feel, making it seem like it could almost lift off the page, you know. It’s a very effective technique, basically.
Even just a few well-placed shadows can make a bow drawing look significantly more convincing. You might add a soft shadow directly underneath the bow where it sits on a surface, or a darker shadow where the knot presses into the loops. These small additions create a sense of weight and presence. It's not about drawing every single tiny shadow, but rather about identifying the main areas where light would be blocked or softened. This simple approach can really bring your bow drawing to life, making it feel more substantial and less like a flat outline, in a way.
Adding Depth to Your Bow Drawing
Adding depth to your bow drawing is about more than just shadows; it's also about how you use lines and overlapping shapes. When one part of the bow goes behind another, you draw the line for the front part completely, and then you stop the line for the back part where it disappears behind the front. This simple trick immediately tells the viewer that one piece of the bow is closer to them than another, creating a sense of layers and space. It's a fundamental drawing principle that works wonders for making your bow drawing feel like it has actual volume, you know.
Consider the thickness of your lines, too. Sometimes, making the lines on the parts of the bow that are closer to the viewer a little bit thicker or darker can help create that sense of depth. This slight emphasis can make those parts pop out from the rest of the bow drawing. It's a subtle visual cue that your brain picks up on, making the image feel more dynamic. You don't want to overdo it, of course, but a little variation in line weight can be very effective, actually. It's a technique that artists use all the time to make their drawings feel more alive, pretty much.
Another way to give your bow drawing a feeling of depth is by thinking about how the fabric of the ribbon would twist and turn. A real bow isn't perfectly flat; it has curves and folds. By suggesting these natural bends and creases with your lines, you can make your drawn bow feel more organic and less like a rigid shape. A slight curve to the tails, or a gentle ripple in the loops, can add a lot of character and a sense of three-dimensionality. These details, even if they are just implied, really help to make your bow drawing look more convincing and full of life, honestly. It’s all about making it feel like it could exist in the real world, in some respects.
Bows Drawing at GetDrawings | Free download

How to Draw a Christmas Bow - HelloArtsy
Christmas Bow Drawing
