Snowflake Drawing - Your Simple Guide
Are you thinking about creating some lovely winter art? Perhaps you want to add a touch of frosty beauty to your papers or just try something new with a pencil. Well, you are in luck, because figuring out how to make a snowflake drawing is more straightforward than you might believe. It is a wonderful way to bring a bit of that crisp, cool season right to your desk, and it does not ask for much in the way of supplies, just some basic items you likely have close by.
Many people, it seems, believe that creating a snowflake drawing requires a special gift for art or perhaps a very steady hand. That, however, is not the case at all. This guide is here to show you that with just a few simple moves and a bit of patience, you can craft something truly charming. We will explore some straightforward methods that help you get started, and you will see how quickly you can achieve a result that makes you smile.
So, if you are feeling ready to welcome some delightful winter feelings into your creative time, then you are in the right spot. We are going to look at several charming approaches to making a snowflake drawing. These ways are designed to be easy to pick up, and they will help you make lovely patterns in no time. You will find that the process itself is quite enjoyable, a little like watching real snowflakes fall, each one a small work of art.
Table of Contents
- What Makes Snowflake Drawing So Appealing?
- Getting Started with Your Snowflake Drawing
- Can Anyone Create a Snowflake Drawing?
- Basic Steps for Your First Snowflake Drawing
- How Do Simple Shapes Help with Snowflake Drawing?
- Building Your Snowflake Drawing with Geometry
- Where Can You Use Your Snowflake Drawing Creations?
- Adding Snowflake Drawing to Your Everyday
What Makes Snowflake Drawing So Appealing?
People are often drawn to the idea of a snowflake drawing for many reasons. For one thing, each real snowflake is a unique creation, and that same sense of individuality can be brought into your own hand-drawn versions. It feels a bit like capturing a tiny piece of natural wonder on paper. There is a certain calm that comes with focusing on the delicate patterns, and it allows for a moment of quiet creativity in what can be a rather busy day. It is, you know, a way to express a feeling of winter without needing cold weather outside.
Getting Started with Your Snowflake Drawing
When you begin to consider making a snowflake drawing, it helps to gather a few items. You will not need anything out of the ordinary, perhaps just a pencil, some paper, and maybe an eraser for any adjustments. Some folks like to have colored pencils or markers on hand to add a splash of vibrancy once the basic outline is done. It is, you see, about using what you have and making the most of those simple tools. The idea is to keep it relaxed and enjoyable, not a chore.
Can Anyone Create a Snowflake Drawing?
The short answer is yes, absolutely anyone can make a snowflake drawing. It might look a little tricky at first glance, with all those tiny arms and intricate designs, but the truth is, there are some very clever methods you can use to make the whole process feel like a pleasant walk in the park. You do not need to be an artist with years of practice; you just need to be willing to give it a go. Actually, many find it quite surprising how quickly they pick it up.
Basic Steps for Your First Snowflake Drawing
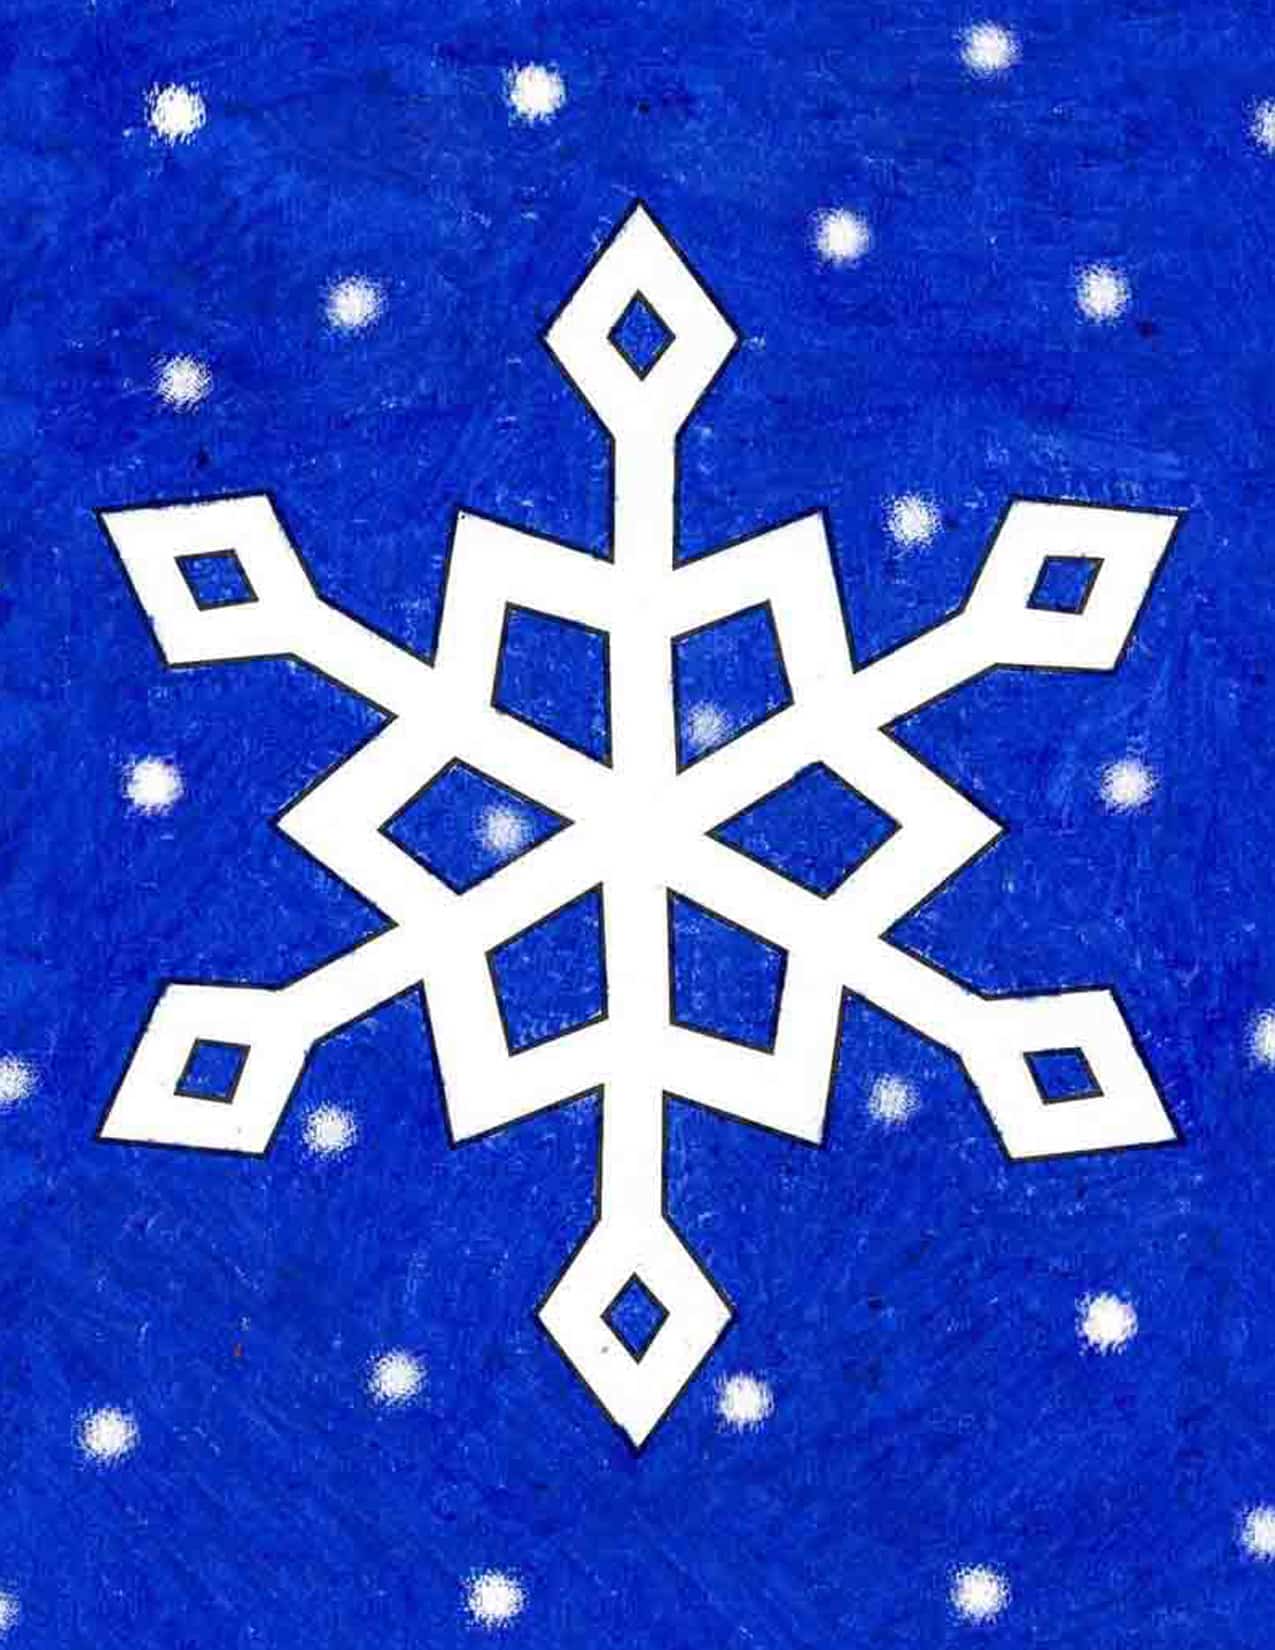
Let us talk about how you can begin your very own snowflake drawing. A good starting point involves creating a simple framework. You can begin by putting down a line that goes at an angle across your paper. Then, you add another line that crosses the first one, forming a shape that looks a bit like the letter 'X'. After that, you will place a third line straight up and down, making sure it goes right through the middle where your first two lines met. This gives you a central point with six spokes reaching out, which is pretty much the foundation for most snowflake designs. It is, in a way, like building the frame of a house before adding the walls.
Once you have your basic framework, the fun part of adding details to your snowflake drawing can begin. Think of each spoke as an arm of the snowflake. You can add smaller lines, little V-shapes, or tiny triangles along these arms. The key here is to try and make what you add to one arm also appear on the others. This helps give your snowflake that balanced, symmetrical look that real ones have. You know, it is about repetition and pattern. You can make these additions as simple or as involved as you like, depending on the sort of look you are going for.
Some people find it helpful to think of the snowflake drawing process as building something up in layers. First, the core structure, then the initial details on the arms, and then perhaps even smaller details on those first additions. It is a step-by-step approach that makes the entire thing feel much more manageable. You do not have to worry about the whole picture at once; you just focus on one small part, then the next. This method, you see, helps break down what might appear to be a complex task into a series of very easy moves.
There are, in fact, many small pointers that can make your snowflake drawing journey a smooth one. One helpful hint is to keep your initial lines very light. This way, if you need to make any changes or if you want to erase parts later, it is much easier to do so without leaving heavy marks on your paper. It also means that your final, darker lines will stand out more clearly. This is, you know, a common practice in many forms of art. It allows for adjustments and improvements as you go along.
Another simple suggestion for your snowflake drawing is to rotate your paper as you work. This can make it much easier to draw the same details on each arm of the snowflake from a comfortable angle. Instead of twisting your wrist in awkward ways, you just turn the paper. It is a small thing, but it can make a rather big difference in how comfortable you feel and how neat your lines turn out. Sometimes, actually, these little physical adjustments help a lot.
For those who prefer a bit more guidance, there are often ways to follow along with visual lessons. These can show you each stroke and curve in real time, making it very straightforward to copy what you see. It is a bit like having someone right there with you, showing you how to hold your pencil and where to place your marks. This kind of guidance can be incredibly reassuring, especially when you are just starting out with a snowflake drawing. You know, it takes away some of the guesswork.
Many folks enjoy the feeling of getting a perfect result, and with a snowflake drawing, that is entirely possible. By simply following the clear directions, you can craft a snowflake that looks just right. It does not require any special talent, just a willingness to follow a few simple steps. The satisfaction that comes from seeing your finished creation, knowing you made it yourself, is pretty rewarding. It is, you see, a small victory in your day.
How Do Simple Shapes Help with Snowflake Drawing?
You might wonder how basic forms like a hexagon or a star can play a part in creating a snowflake drawing. Well, these shapes act as another kind of starting point, a guide for where your snowflake's arms and details will go. If you sketch a light hexagon first, for example, you can then draw lines from its center to each of its points, giving you a ready-made structure with six even arms. This makes it much easier to keep your snowflake balanced and looking natural. It is, you know, a clever way to simplify the initial setup.
Building Your Snowflake Drawing with Geometry
The beauty of a snowflake drawing often comes from its geometric nature. Using simple geometric concepts, like lines and basic forms, allows you to create shapes that are both interesting and quite elegant. You can combine these basic elements in many different ways to make unique patterns. Think about how you can add small triangles to the end of each arm, or perhaps tiny squares that seem to float along the lines. The possibilities are, in some respects, endless once you get the hang of it. This approach helps you build up a complex-looking design from very simple parts.
For example, after you have your initial 'X' and vertical line framework for your snowflake drawing, you can think about adding smaller 'V' shapes at the end of each arm. Then, perhaps, add another, smaller 'V' inside the first one. This layering of simple forms helps to build the depth and intricacy that real snowflakes show. It is about repeating patterns and making them slightly different as you move outwards from the center. This is, you know, a very common design principle.
Another way to approach your snowflake drawing is to imagine it growing from the center outwards, much like a real snowflake forms. You start with the core, then add the main branches, and then smaller branches or crystal-like forms sprout from those. This organic way of thinking about it can make the process feel more natural and less like you are just copying a rigid design. You are, basically, letting the snowflake grow on your paper. It can be a very relaxing way to create.
You might also find it helpful to use a ruler for your initial lines when making a snowflake drawing, just to ensure they are straight and evenly spaced. While the final details will be freehand, a solid foundation can make a world of difference. This ensures that your snowflake has a good, strong base to build upon, which can help prevent it from looking lopsided. It is, perhaps, a small step that yields big benefits.
Some people enjoy the challenge of making each snowflake drawing a little different from the last. Even with the same basic steps, you can change the length of the arms, the type of details you add, or how many layers of details you include. This allows for a great deal of personal expression. You are, in a way, creating your own unique winter art every time. It keeps the activity fresh and interesting.
If you are someone who likes to have everything laid out for you, there are often ready-to-print sheets that can help with your snowflake drawing practice. These can provide outlines or starting points that you can trace or fill in. It is a handy way to get going right away without having to worry about setting up the initial structure yourself. You can, you know, just print it and start sketching. This can be a very quick path to creating lovely designs.
The goal is to make creating a snowflake drawing feel easy and rewarding. You should feel like you are just playing around with lines and shapes, letting your hand guide the pencil. The more you practice, the more natural it will feel, and you will start to develop your own favorite ways of adding those delicate touches. It is, really, about having fun with it.
Where Can You Use Your Snowflake Drawing Creations?
Once you have gotten the hang of making a snowflake drawing, you will likely find yourself thinking of all sorts of places to put your new creations. They are not just for practice sheets; they can add a charming touch to many everyday items. For instance, you can use them to brighten up your December date keeper or add a whimsical element to your personal record book. They are, you know, quite versatile.
Adding Snowflake Drawing to Your Everyday
A snowflake drawing can be a lovely addition to holiday cards you send out to loved ones. Imagine a simple, heartfelt card with a hand-drawn snowflake adorning the front; it adds a very personal touch that store-bought cards just cannot quite match. You can also use them to decorate gift tags, making each present feel a little more special and thoughtfully prepared. It is, after all, about putting a bit of yourself into what you give.
Beyond cards and tags, your snowflake drawing skills can be used for simple home decorations. You could sketch several snowflakes of different sizes, cut them out, and string them together to make a delicate garland. Or, you might draw them directly onto plain paper lanterns to give them a festive glow. They can even be used to make simple stencils for a frosty window display, though you would need to be careful with the materials you use. It is, basically, a way to bring winter cheer indoors.
For those who enjoy keeping a journal or a planner, adding a snowflake drawing can be a delightful way to mark the winter months. You can draw a small one in the corner of a page, or create a border around your daily entries. It helps to set a mood for your writing or planning, and it is a nice visual reminder of the season. This is, you know, a quiet way to make your personal space feel more inviting.
Children, too, often love to make a snowflake drawing. It is a fun activity that helps them practice their hand movements and express their creativity. You can turn it into a family activity, with everyone making their own unique snowflake. It is a simple way to spend quality time together, creating something beautiful. This can be, you see, a very rewarding experience for everyone involved.
And if you are looking for a quick art project, a snowflake drawing fits the bill perfectly. Because the steps are so straightforward, you can create a charming snowflake in just a few moments. This means you can fit a little bit of creative time into even the busiest of days. You will be making lovely snowflake designs almost immediately, which is pretty satisfying. It is, honestly, a very accessible form of art.
So, whether you want to add a winter touch to your calendar, make a special card, or just enjoy the act of creating something delicate and beautiful, a snowflake drawing is a wonderful choice. It is a skill that is easy to pick up, and it offers many ways to bring a bit of frosty charm into your life. You will find that the process itself is quite enjoyable, and the results are always unique.

How to Draw a Snowflake - HelloArtsy
Easy How to Draw a Snowflake Tutorial and Coloring Page

How to Draw a Snowflake 6 Easy ways VIDEO + Printable!
