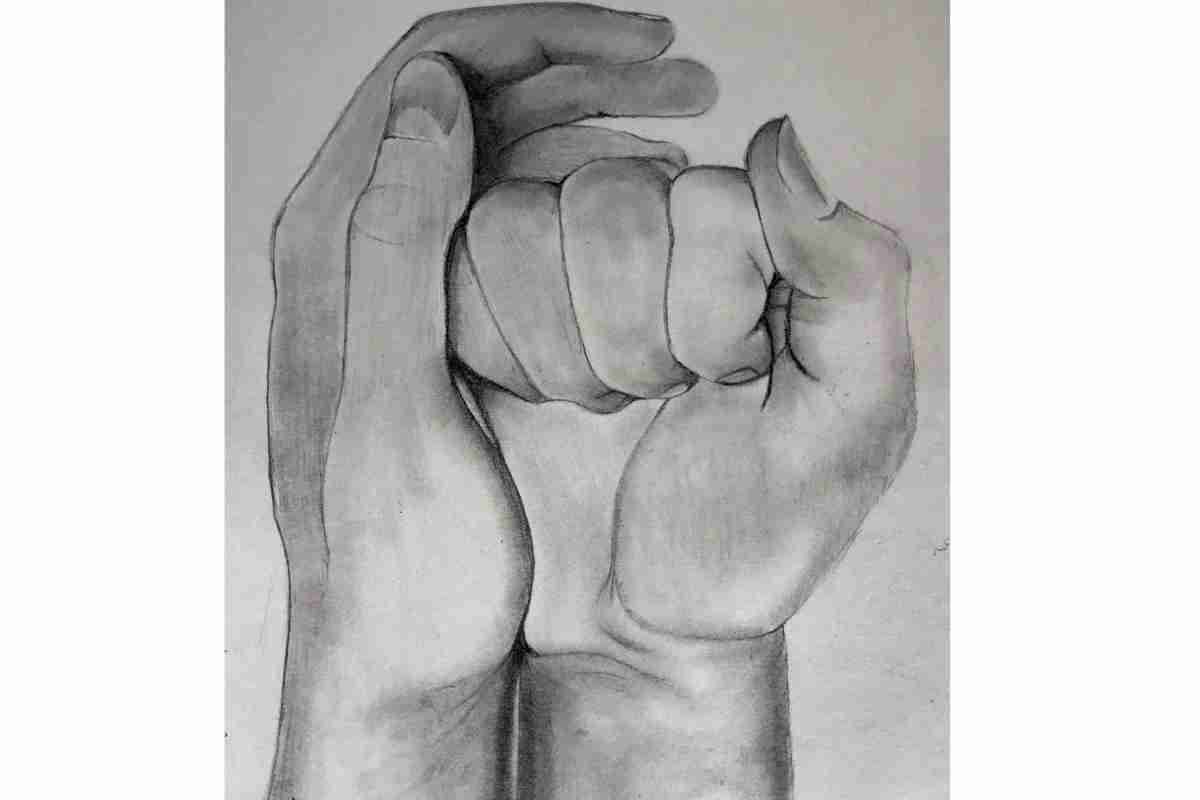
Fist Drawing
How to Draw a Fist – Simple Steps
Have you ever felt a little curious about how to make a hand shape appear on paper, especially when it's closed up tight? It's a common thought, you know, for anyone who enjoys putting pencil to paper. Many folks think drawing something like a hand in a fist might be quite a challenge, something only seasoned artists can really pull off. But that's actually not the case at all, and it's something we can easily explore together. This idea of making a closed hand come to life on your page is a lot more approachable than you might first guess.
The truth is, getting a good-looking closed hand shape onto your paper is pretty straightforward, very much so. It doesn't ask for years of art school or some kind of special talent. What it really comes down to is just taking things one step at a time, you know, breaking down the shape into simpler bits. With just a little bit of practice, you'll be making a fist drawing that looks just right, perhaps even better than you thought possible. It's truly a process that builds on itself, each little effort adding to your overall ability.
And here's a really good part about learning this particular kind of drawing: you don't have to follow every single instruction exactly as it's shown. That's right, there's plenty of room for your own touch, your own personal flair. This guide, you see, is more of a friendly starting point, a way to get you going. You can always adjust things to fit what feels right for you, making your fist drawing uniquely yours. It’s pretty cool, if you ask me, how much freedom there is.
Table of Contents
- What Makes a Great Fist Drawing?
- Getting Ready for Your Fist Drawing
- How Do You Begin Your Fist Drawing?
- Laying Down the First Shapes for Your Fist Drawing
- Can You Really Make a Fist Drawing Look Real?
- Adding Details to Your Fist Drawing
- What's the Secret to a Good Fist Drawing?
- Making Your Fist Drawing Your Own
What Makes a Great Fist Drawing?
You might be asking yourself, "What actually makes a drawing of a closed hand look really good?" It's a fair question, and it's almost, you know, about capturing a sense of solidness. A good fist drawing feels weighty, like it has some actual presence on the page. It doesn't have to be super detailed or perfectly lifelike to be effective, that's for sure. Sometimes, the most striking closed hand drawings are the ones that keep things simple, focusing on the main shapes and the way the fingers curl.
It's really about getting the overall form right, in some respects. Think about the general shape of a closed hand, how it's kind of blocky but also has those gentle curves where the fingers meet the palm. That's the sort of thing you want to get down first. If you can get that basic structure to feel right, then everything else, like adding the small parts, becomes a lot easier. It's pretty much the foundation for a pleasing fist drawing, honestly.
And, you know, a truly great fist drawing often shows a bit of personality. It doesn't just sit there. It might suggest strength, or maybe even a bit of determination. This comes from how you choose to make the lines, the pressure you put on your pencil, and the way you arrange the different parts. It's a subtle thing, but it makes a big difference in how the drawing feels to someone looking at it. So, consider that as you work on your own versions.
Getting Ready for Your Fist Drawing
So, you're thinking about putting a closed hand shape onto paper, and that's a good idea. What do you actually need to get going? Well, it's pretty simple, really. You'll just need a pencil, one of those everyday kind, and a sheet of paper. That's it, honestly. No fancy equipment or anything like that is required. It's quite freeing, isn't it, to know that you can just grab a couple of basic items and start creating?
It's almost like, you know, the less you have to worry about supplies, the more you can focus on the actual drawing itself. A regular graphite pencil, maybe one that's not too hard or too soft, is usually a good pick. And any kind of paper will do, from a sketchpad to a loose piece of printer paper. The idea is to make it as easy as possible to get started on your fist drawing, without any extra fuss or bother.
Having your materials ready, even if they are just a pencil and paper, helps you get into the right frame of mind. It tells your brain, "Okay, it's time to create something." And that simple act of preparation can make the whole experience feel more purposeful, more enjoyable. So, get those two things together, and you'll be more or less ready to make your first marks for a fist drawing.
How Do You Begin Your Fist Drawing?
A lot of people wonder, "How do I even start drawing a closed hand?" It's a common question, and the answer is usually simpler than folks expect. You don't, you know, just jump straight into drawing every tiny finger crease. Instead, you begin with something much more basic, something that acts as a kind of skeleton for your drawing. This initial step is really about getting the overall placement and size correct on your paper.
Think of it this way: you're basically putting down a few simple shapes first. These shapes act as placeholders for where the palm will be, where the thumb will sit, and where the curled fingers will rest. It's almost like mapping out a rough idea before you get into the fine points. This method makes the whole task feel a lot less overwhelming, and it's actually a very common way that artists approach any kind of drawing.
So, you might start with a general square or a rounded rectangle for the main part of the hand, then add a smaller, somewhat triangular shape for the thumb area. These are just very light lines, you know, almost like whispers on the paper. They're not meant to be permanent, just guides. This initial step is pretty much the most important for setting up a successful fist drawing, giving it a solid starting point.
Laying Down the First Shapes for Your Fist Drawing
When you're first putting down those guiding shapes for your fist drawing, it's a bit like sketching out a very rough blueprint. You're not trying to be perfect; you're just getting the general idea onto the paper. So, you might make a soft, rounded shape for the main part of the hand, the part where all the fingers connect. This shape doesn't need to be precise, just a loose outline of where the hand will mostly be.
Then, you'll want to think about where the thumb is going to be. It's almost always tucked in, or resting along the side of the fingers when a hand is closed. So, you could add a kind of curved, somewhat oval shape for that. This helps to define the overall structure and gives your fist drawing a sense of its full form. Remember, these are all very light lines, just enough to see them.
After that, you can start to suggest where the curled fingers will sit. They'll typically form a kind of rounded, almost lumpy shape over the main hand form. You can use a gentle curve or a few connected bumps to show this. It's not about drawing individual fingers yet, just the mass of them. This step is really about establishing the core volume for your fist drawing, making it feel solid from the start.
Can You Really Make a Fist Drawing Look Real?
A lot of folks wonder, "Is it possible to make a closed hand drawing look truly believable, like it could just pop off the page?" And the answer is, yes, you absolutely can, in some respects. It's not about magic, but rather about paying attention to the small things that give a drawing depth and form. Even a simple fist drawing can feel very real if you get the right elements in place.
It comes down to adding those little touches that make a difference. Think about the way light falls on a hand, or how the skin creases when it's bent. You don't have to be a master of anatomy to suggest these things. A few well-placed lines, a bit of shading here and there, can make a flat drawing feel like it has actual dimension. It's pretty cool how much impact those small additions can have, honestly.
So, while you might start with a more cartoon-like approach, you can always build on that. You can refine your shapes, make your lines a little more deliberate, and add hints of texture. This process of building up layers is what makes a drawing go from a basic outline to something that feels very much alive. It's definitely a rewarding part of making a fist drawing.
Adding Details to Your Fist Drawing
Once you have the basic shape of your fist drawing down, you can start to think about adding some of the finer points. This is where your closed hand shape begins to take on more character. You might, for instance, gently suggest the knuckles, those bumps where the fingers bend. They don't need to be super sharp or overly defined, just a subtle indication that they are there.
Then, you can think about the lines that show where the fingers meet the palm. These are typically softer lines, not hard edges, and they help to separate the different parts of the hand. It's almost like drawing very gentle valleys and hills. And, you know, don't forget the thumb. It has its own unique set of curves and folds, and adding those can really bring your fist drawing to life.
You might also consider adding just a touch of shading. This is where you use the side of your pencil to create darker areas, like in the creases of the fingers or where the thumb casts a slight shadow. This little bit of shading can give your fist drawing a sense of roundness and depth, making it feel much more solid on the paper. It's a fairly simple trick, but it makes a big visual impact.
What's the Secret to a Good Fist Drawing?
If you're asking what the real trick is to making a good closed hand drawing, it's actually not some hidden technique. The most important thing to keep in mind is that you are making a fist drawing that is, in a way, cartoony in style. This means you're focusing on the main shapes and the overall impression, rather than trying to capture every single, tiny detail. It's a simplification, and that's where the ease comes from.
The secret, if you want to call it that, is about making it approachable. It’s about understanding that you can get a very effective and recognizable closed hand shape without getting bogged down in complex anatomy. This approach tends to be much more forgiving, allowing you to build confidence as you go. So, just focus on those big, clear shapes, and you'll be well on your way.
And, you know, another part of the secret is letting go of the idea of perfection. Your fist drawing doesn't need to be a masterpiece on your first try, or even your tenth. It's about enjoying the process and seeing how each attempt gets you closer to what you envision. That kind of relaxed attitude really helps in the long run, as a matter of fact.
Making Your Fist Drawing Your Own
One of the truly wonderful things about learning to draw a closed hand is that you don't have to stick to just one way of doing it. This guide, as I mentioned, is just a starting point. The real fun begins when you start to make your fist drawing truly reflect your own style, your own unique touch. It's about taking the basic ideas and then twisting them a little, making them fit what you like.
So, perhaps you prefer a very rounder, softer look for your closed hand. Or maybe you like your lines to be a bit sharper, giving your fist drawing a more defined feel. You can play with how much pressure you put on your pencil, making some lines darker and bolder, and others lighter and more delicate. These small choices are what make your drawing stand out as yours.
It's also worth thinking about what kind of feeling you want your fist drawing to convey. Does it feel gentle, or strong, or something else entirely? The way you draw the fingers, the curve of the thumb, and even the overall angle can all contribute to this. So, feel free to experiment, to try different things, and to let your personality shine through in every line you make. It's pretty much the best part of being creative.

Fist Drawing Ref - Drawing.rjuuc.edu.np
How to Draw a Fist in Eight Easy Steps – Improve Drawing

Right Fist Sketch
