Volcano Drawing
Volcano Drawing - Making Fiery Mountains on Paper
Have you ever looked at a picture of a mighty volcano, perhaps with smoke curling from its top or fiery liquid flowing down its sides, and thought that creating such a scene yourself would be a really difficult thing to do? Many people, you know, feel a bit unsure about trying to put something so powerful onto a piece of paper. But the truth is, making your own depiction of a volcano, one that looks quite lively and full of energy, is actually, in some respects, far simpler than you might think. We are going to explore how anyone, no matter their previous experience with a pencil or crayon, can bring these impressive landforms to life with just a few easy movements of their hand.
It turns out that figuring out how to make a great looking volcano picture, complete with easy-to-follow instructions and even a helpful video guide, is really quite accessible for anyone who wants to give it a try. By just paying attention to some straightforward steps, you too can, like, easily put together a very good representation of a volcano. It’s not about needing some kind of special artistic talent that only a few people have; it’s more about just following a path that has been laid out to make the whole process feel quite natural and, well, pretty satisfying.
For our time together today, we will show you how to create a volcano drawing that looks quite real, yet is also very easy to put together. While the thought of a volcano might bring to mind something quite large and perhaps a little scary, learning how to put one on paper does not, in fact, have to feel that way at all. This particular way of teaching, you see, will be quite enjoyable and simple for people of all ages to keep up with and get pleasure from. It’s all about breaking down what seems like a big task into smaller, more manageable parts, making the whole experience, you know, a very pleasant one.
Table of Contents
- Making Your Volcano Drawing Come Alive
- What Are the First Steps for a Volcano Drawing?
- How Can You Add Details to Your Volcano Drawing?
- Ways to Create Your Volcano Drawing
- Is a Volcano Drawing Good for All Ages?
- Getting the Right Look for Your Volcano Drawing
- Why Bother with a Volcano Drawing?
- Finishing Your Volcano Drawing with Flair
Making Your Volcano Drawing Come Alive
You know, getting your volcano picture to really look like it's doing something, to seem quite active, is not as hard as it might appear at first glance. There are, basically, some simple ways to give your drawing that feeling of movement and life, making it seem as if the mountain itself is about to stir. It’s all about understanding a few basic tricks that can make a big impact on how your final piece looks. We want to show you how to put lines down on paper in a way that suggests energy, like the kind you would see in a real, living mountain that sometimes lets out smoke or fire. It’s about, you know, giving your volcano drawing a true sense of presence.
When you begin to make your marks, the idea is to think about the mountain’s form and how it might sit on the land. By just using some straightforward shapes and then adding in careful bits of smaller markings, pretty much anyone can put together a picture of a volcano that looks like it's letting out fiery bits. This means, you know, you don't need to be a seasoned artist to get a result that looks quite impressive. It's more about following a simple recipe, so to speak, to get the visual effect you are aiming for with your volcano drawing. The goal is for it to feel like a fun, creative process, not a difficult task.
This particular instruction set will walk you through making a picture of a volcano in a couple of different manners. From putting down the very first outline of the mountain's form to adding in all the smaller elements like the smoke that rises, the ash that falls, and other such things, we will guide you. It’s a bit like building something from the ground up, starting with the main structure and then adding all the bits that give it character. You’ll be shown how to handle the initial sketching of your volcano drawing, then how to build on that foundation, piece by piece, to get to a finished image.
What Are the First Steps for a Volcano Drawing?
So, what exactly do you do first when you want to make a picture of a volcano? It’s a very good question to ask, and the answer is actually quite simple. The initial part of putting together your volcano drawing involves laying down the groundwork, much like you would if you were building something. You start with the very bottom of your picture, putting in some green blocks, which really just means drawing some shapes that represent the ground or land where the volcano sits. This gives your fiery mountain a place to stand, a solid base to rise from. It’s like setting the scene for what’s to come, getting the landscape ready.
After you have put down those initial green ground shapes, the next thing you do is begin to put in more of the mountain shapes higher up on your paper. This is where your volcano starts to take its familiar conical form, growing taller and taller. You are, in a way, building the main body of the mountain, layer by layer, with your pencil or whatever tool you are using. This part is about getting the overall shape and size right, making sure your volcano drawing has the proper bulk and height before you add any of the more exciting elements. It’s about creating the basic structure that everything else will be built upon, so it's, you know, pretty important to get this part looking right.
This early stage is really about getting the big shapes in place. You’re not worried about tiny details just yet. Think of it as mapping out the general idea of your volcano drawing before you fill in all the interesting bits. It’s a bit like making a rough sketch, where you just get the main outlines down. This approach helps to make the whole process feel less overwhelming, allowing you to focus on one thing at a time. So, first the ground, then the main mountain shape, and then you’re ready to move on to the more lively parts, which is, you know, where the fun really begins.
How Can You Add Details to Your Volcano Drawing?
Once you have the basic form of your volcano drawing established, the real fun of making it come alive begins when you start to add the smaller elements. This is where you can make your picture truly special and give it that fiery mountain feel. From sketching out the very first general shape of the volcano to putting in things like smoke, ash, and other such elements, these smaller additions really bring the whole scene to life. You might think about the way smoke billows up, or how ash might drift down, and then try to capture that feeling on your paper. It’s about giving your mountain a story, in a way.
For example, you can begin to add the smoke that comes from the top of the mountain. This can be done with soft, swirling lines that rise upwards. Then, you might think about the ash, which would be smaller, darker specks that fall from the sky around the volcano. These little touches make a big difference in making your volcano drawing look more real. It’s about paying attention to the things that happen when a volcano is active and then translating those observations into marks on your page. You can, you know, even try to show the way the light might catch the smoke or the ash, giving it a bit more depth.
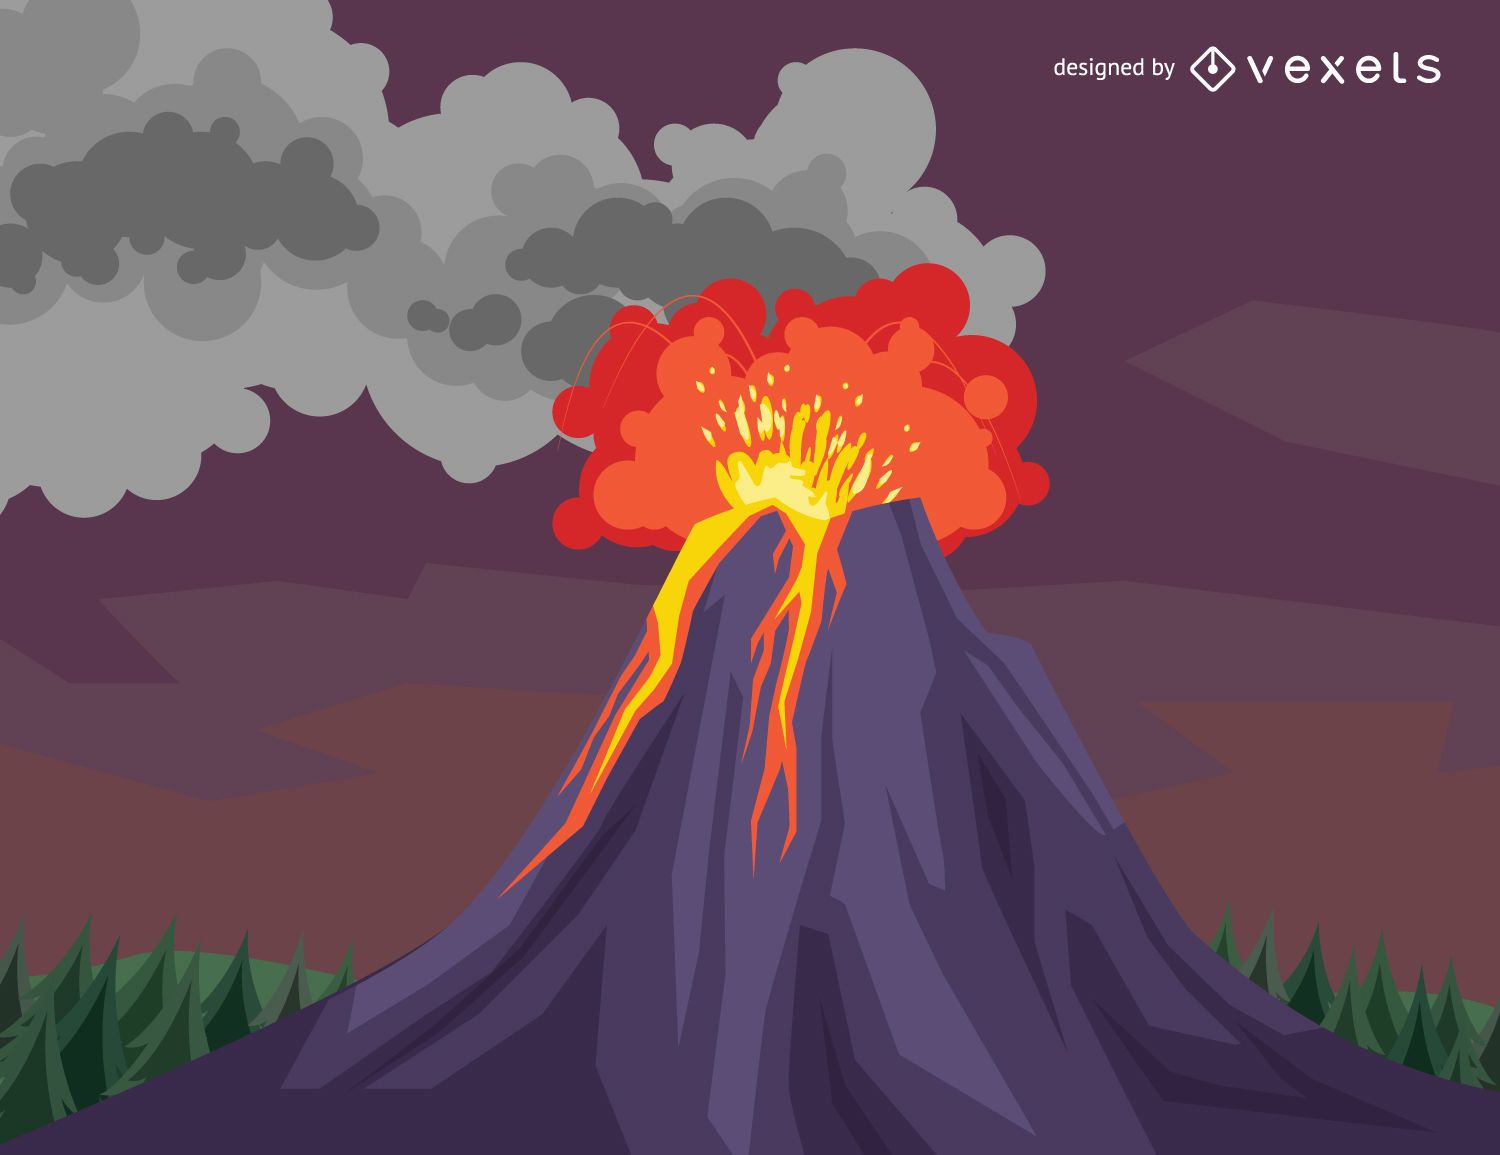
And then, of course, there’s the lava. This instruction set shows you how to make a picture of a volcano that is letting out smoke and lava in just six movements. It gives you straightforward drawing examples and quick instructions to follow. So, after you have your mountain shape and the smoke, you then put in more of the fiery liquid as it flows down the sides. This can be done with wavy, flowing lines that suggest heat and movement. It’s about making your volcano drawing feel dynamic, like it’s truly in the middle of a powerful event, which is, you know, pretty cool to see.
Ways to Create Your Volcano Drawing
There are, you know, actually quite a few different paths you can take when you want to put a volcano on paper. This particular guide from easydrawforkids.com will show you how to learn to make a volcano picture using two distinct methods. This means you have choices in how you approach the task, allowing you to pick the way that feels most comfortable or interesting to you. It’s not just one rigid set of rules; there’s flexibility in how you go about making your volcano drawing, which is, basically, a very good thing for anyone who is just starting out or wants to try something a little different.
Some methods might focus more on getting the overall shape quickly, while others might spend more time on the details from the very beginning. For example, one approach might be to learn how to make a volcano picture in just three steps, which is, you know, really quick and simple. Another might involve a few more stages, perhaps six steps, to add more complex elements like smoke and lava right from the start. The idea is that no matter how much time you have or how much detail you want to include, there’s a way that suits your needs for your volcano drawing.
In fact, if you’re looking for even more ideas, there are resources that offer as many as twenty-five simple ways to make a volcano picture, complete with step-by-step basic outlines, things you can print out, and even pages you can color in. This means you have a whole collection of possibilities at your fingertips. It’s about giving you lots of options to explore, so you can keep trying new things with your volcano drawing until you find the style that you like best. It’s really about having fun and being creative, rather than sticking to just one way of doing things, which is, you know, what drawing is all about.
Is a Volcano Drawing Good for All Ages?
A really good question to ask is whether making a picture of a volcano is something that people of all ages can enjoy and learn from. And the answer is, yes, absolutely. This kind of instruction, for example, is made to be enjoyable and simple for children of every age group to keep up with and get pleasure from. It’s not just for older kids or adults; even the younger ones can get a lot out of putting these fiery mountains onto paper. The steps are broken down into such small, easy parts that anyone can feel successful, which is, you know, a very important part of learning anything new.
The instructions are often presented in a way that uses straightforward language and clear pictures, making them accessible to a wide range of learners. This means that whether you are a very young child just starting to hold a crayon or an adult looking for a fun and relaxing activity, you can find something to appreciate in making a volcano drawing. It’s about creating an experience that feels welcoming and encouraging, rather than something that might seem too difficult or complex. So, basically, anyone who wants to try their hand at it can jump right in and have a good time.
The beauty of this kind of drawing project is that it can be adapted to different skill levels. A younger child might focus on the big shapes and bright colors, while an older person might spend more time on the textures of the rock or the movement of the smoke and lava. Everyone can find their own level of engagement, and that's, you know, what makes it so universally appealing. It’s a shared activity that can bring people together, allowing each person to create their own unique volcano drawing, which is, honestly, quite wonderful to see.
Getting the Right Look for Your Volcano Drawing
When you are trying to get your volcano picture to have that specific appearance, the one that truly shows its raw power and striking beauty, it often comes down to a few key approaches. It's about, you know, learning the ways to put down marks that capture that feeling of a very large and impressive mountain. Over more than fourteen truly necessary movements, you will become quite good at the method of showing the great strength and wonderful appearance of volcanoes on your paper. This means that with each step, you are getting closer to making a picture that really stands out and conveys the feeling of a real volcano.
It’s not just about drawing a cone shape; it’s about making that cone shape feel alive. This involves understanding how to use lines and shading to suggest the rugged surface of the mountain, or how to create the illusion of heat and light coming from the lava. The instructions are designed to give you a very good grasp of these elements, allowing you to move beyond just a simple outline to something that has more depth and feeling. You will, in some respects, learn the little secrets of how to make your volcano drawing truly capture the eye, making it look as grand as the real thing.
This includes showing how to make a picture of a volcano that is letting out smoke and lava in just six movements. It provides straightforward drawing examples and quick instructions, so you can see exactly what to do at each stage. The goal is to give you the practical know-how to make your volcano drawing look authentic, whether it’s the way the smoke curls or the way the fiery liquid flows down the sides. It’s about giving you the practical tools to make your picture feel real and full of life, which is, you know, pretty much what every artist wants to achieve.
Why Bother with a Volcano Drawing?
You might wonder, why would someone want to spend their time making a picture of a volcano? Well, there are actually quite a few good reasons. For one thing, creating this kind of illustration can be very useful for school tasks, especially those about geography. If you have a project that needs a visual element to explain how mountains like these work, then having a well-made volcano drawing can be a really helpful addition. It’s a way to show what you know in a very creative and engaging manner, which is, you know, something teachers often appreciate.
Beyond school, these fiery mountain pictures can also be used for other fun things, like making your own nature stickers. Imagine having a collection of stickers that you made yourself, featuring powerful volcanoes. You could put them on notebooks, on gifts, or anywhere you want to add a bit of your own personal touch. It’s a way to take your creative efforts and turn them into something practical and enjoyable, which is, basically, a very satisfying feeling. It’s about bringing your art into the everyday world, making it a part of things you use or see regularly.
And then, of course, there’s the simple pleasure of it. Making a picture of a volcano, especially one that looks like it’s letting out fire, is just a fun thing to do. It allows you to express yourself, to explore your creative side, and to feel a sense of accomplishment when you see your finished work. It’s a bit like a small adventure on paper, where you get to bring a powerful force of nature to life with your own hands. So, in a way, it’s not just about the finished product, but also about the enjoyment you get from the process itself, which is, you know, a very valuable thing.
Finishing Your Volcano Drawing with Flair
Once you have the main shapes and some of the key elements of your volcano drawing in place, it’s time to think about adding those final touches that truly make it pop. You’ve put in the green ground parts at the bottom, and you’ve drawn the larger mountain forms higher up. Now, it’s about refining those elements and bringing in the more dynamic aspects. For instance, you will, you know, then put in more of the fiery liquid as it comes out, giving your picture a sense of intense heat and movement. This is where your volcano really starts to feel alive and ready to erupt.
This final stage often involves going back over your lines, perhaps making some darker or thicker to show depth, or adding more color to give the lava a glowing effect. It’s about paying attention to the small things that can make a big difference in the overall look of your volcano drawing. You might think about how light would hit the smoke, or how the fiery liquid would flow over the rough surface of the mountain. These considerations help you to add layers of visual interest, making your picture more engaging and realistic, which is, honestly, quite a rewarding part of the process.
And remember, there are so many ways to finish your volcano drawing. You can find twenty-five simple ideas for making a volcano picture, each with step-by-step basic outlines, things you can print out, and even pages you can color in. This means you have a wealth of options to explore for those finishing touches. Whether you prefer a very simple, clean look or something with lots of texture and detail, there’s a way to make your volcano drawing truly yours. It’s about having the freedom to experiment and to find what works best for your own creative vision, which is, you know, a really important part of any artistic endeavor.
This guide has walked you through the idea that making a picture of a volcano, even one that looks quite active, is a very achievable task. We covered how simple instructions and video guides can help you put together a great-looking volcano, and how basic shapes and careful additions can lead to a picture of an erupting mountain. We also touched on the different ways to approach your volcano drawing, from two methods to six steps, and even twenty-five ideas, including how to add smoke, ash, and lava. We looked at how these drawing activities are fun and easy for people of all ages, and how they can be used for things like school projects or creating your own stickers. The aim was to show you that capturing the powerful beauty of volcanoes on paper is something anyone can learn to do with simple steps and a bit of creative effort.

How to Draw a Volcano | Design School
Volcano Eruption Drawing Vector Download

Vector Drawing Of A Volcano Erupting/Volcano/ Easy To Edit Vector File
