Simple Phone Drawing - Your Guide To Creating Great Art
Have you ever looked at your phone and thought, "I could draw that"? Well, you absolutely can! Getting started with phone drawing is, as a matter of fact, a fun way to express yourself, whether you are just picking up a pencil for the first time or you have been sketching for a while. This kind of drawing lets you make something familiar and useful, turning an everyday item into a piece of your very own art. It is a creative activity that really helps build up your visual skills, allowing you to see objects in a fresh way, breaking them down into simpler parts.
Making a picture of a phone, whether it is a brand-new smartphone or a classic older model, does not have to be a big challenge. In fact, it is surprisingly straightforward when you know a few easy steps. We are going to talk about how to make a picture of a phone using basic forms and straightforward lines, which is pretty much all you need to begin. This approach is, you know, especially good for people who are just starting out with art, including younger artists who want to create something cool and recognizable.
This guide will walk you through the process, from putting down the first light lines to adding all the little bits that make a phone look like, well, a phone. You will pick up some handy tips for shading and making your drawing seem more real, too. So, grab your drawing tools and let us get ready to make some really neat phone pictures together. You might be surprised at what you can do, actually.
Table of Contents
- How to Start Your Phone Drawing Adventure?
- Basic Shapes for Your Phone Drawing
- Adding the Details to Your Phone Drawing
- Why is Phone Drawing Fun for Everyone?
- What Tools Do You Need for Phone Drawing?
- Making Your Phone Drawing Look Real
- Can You Draw Phones from Different Angles?
- Tips for Your Next Phone Drawing Project
How to Start Your Phone Drawing Adventure?
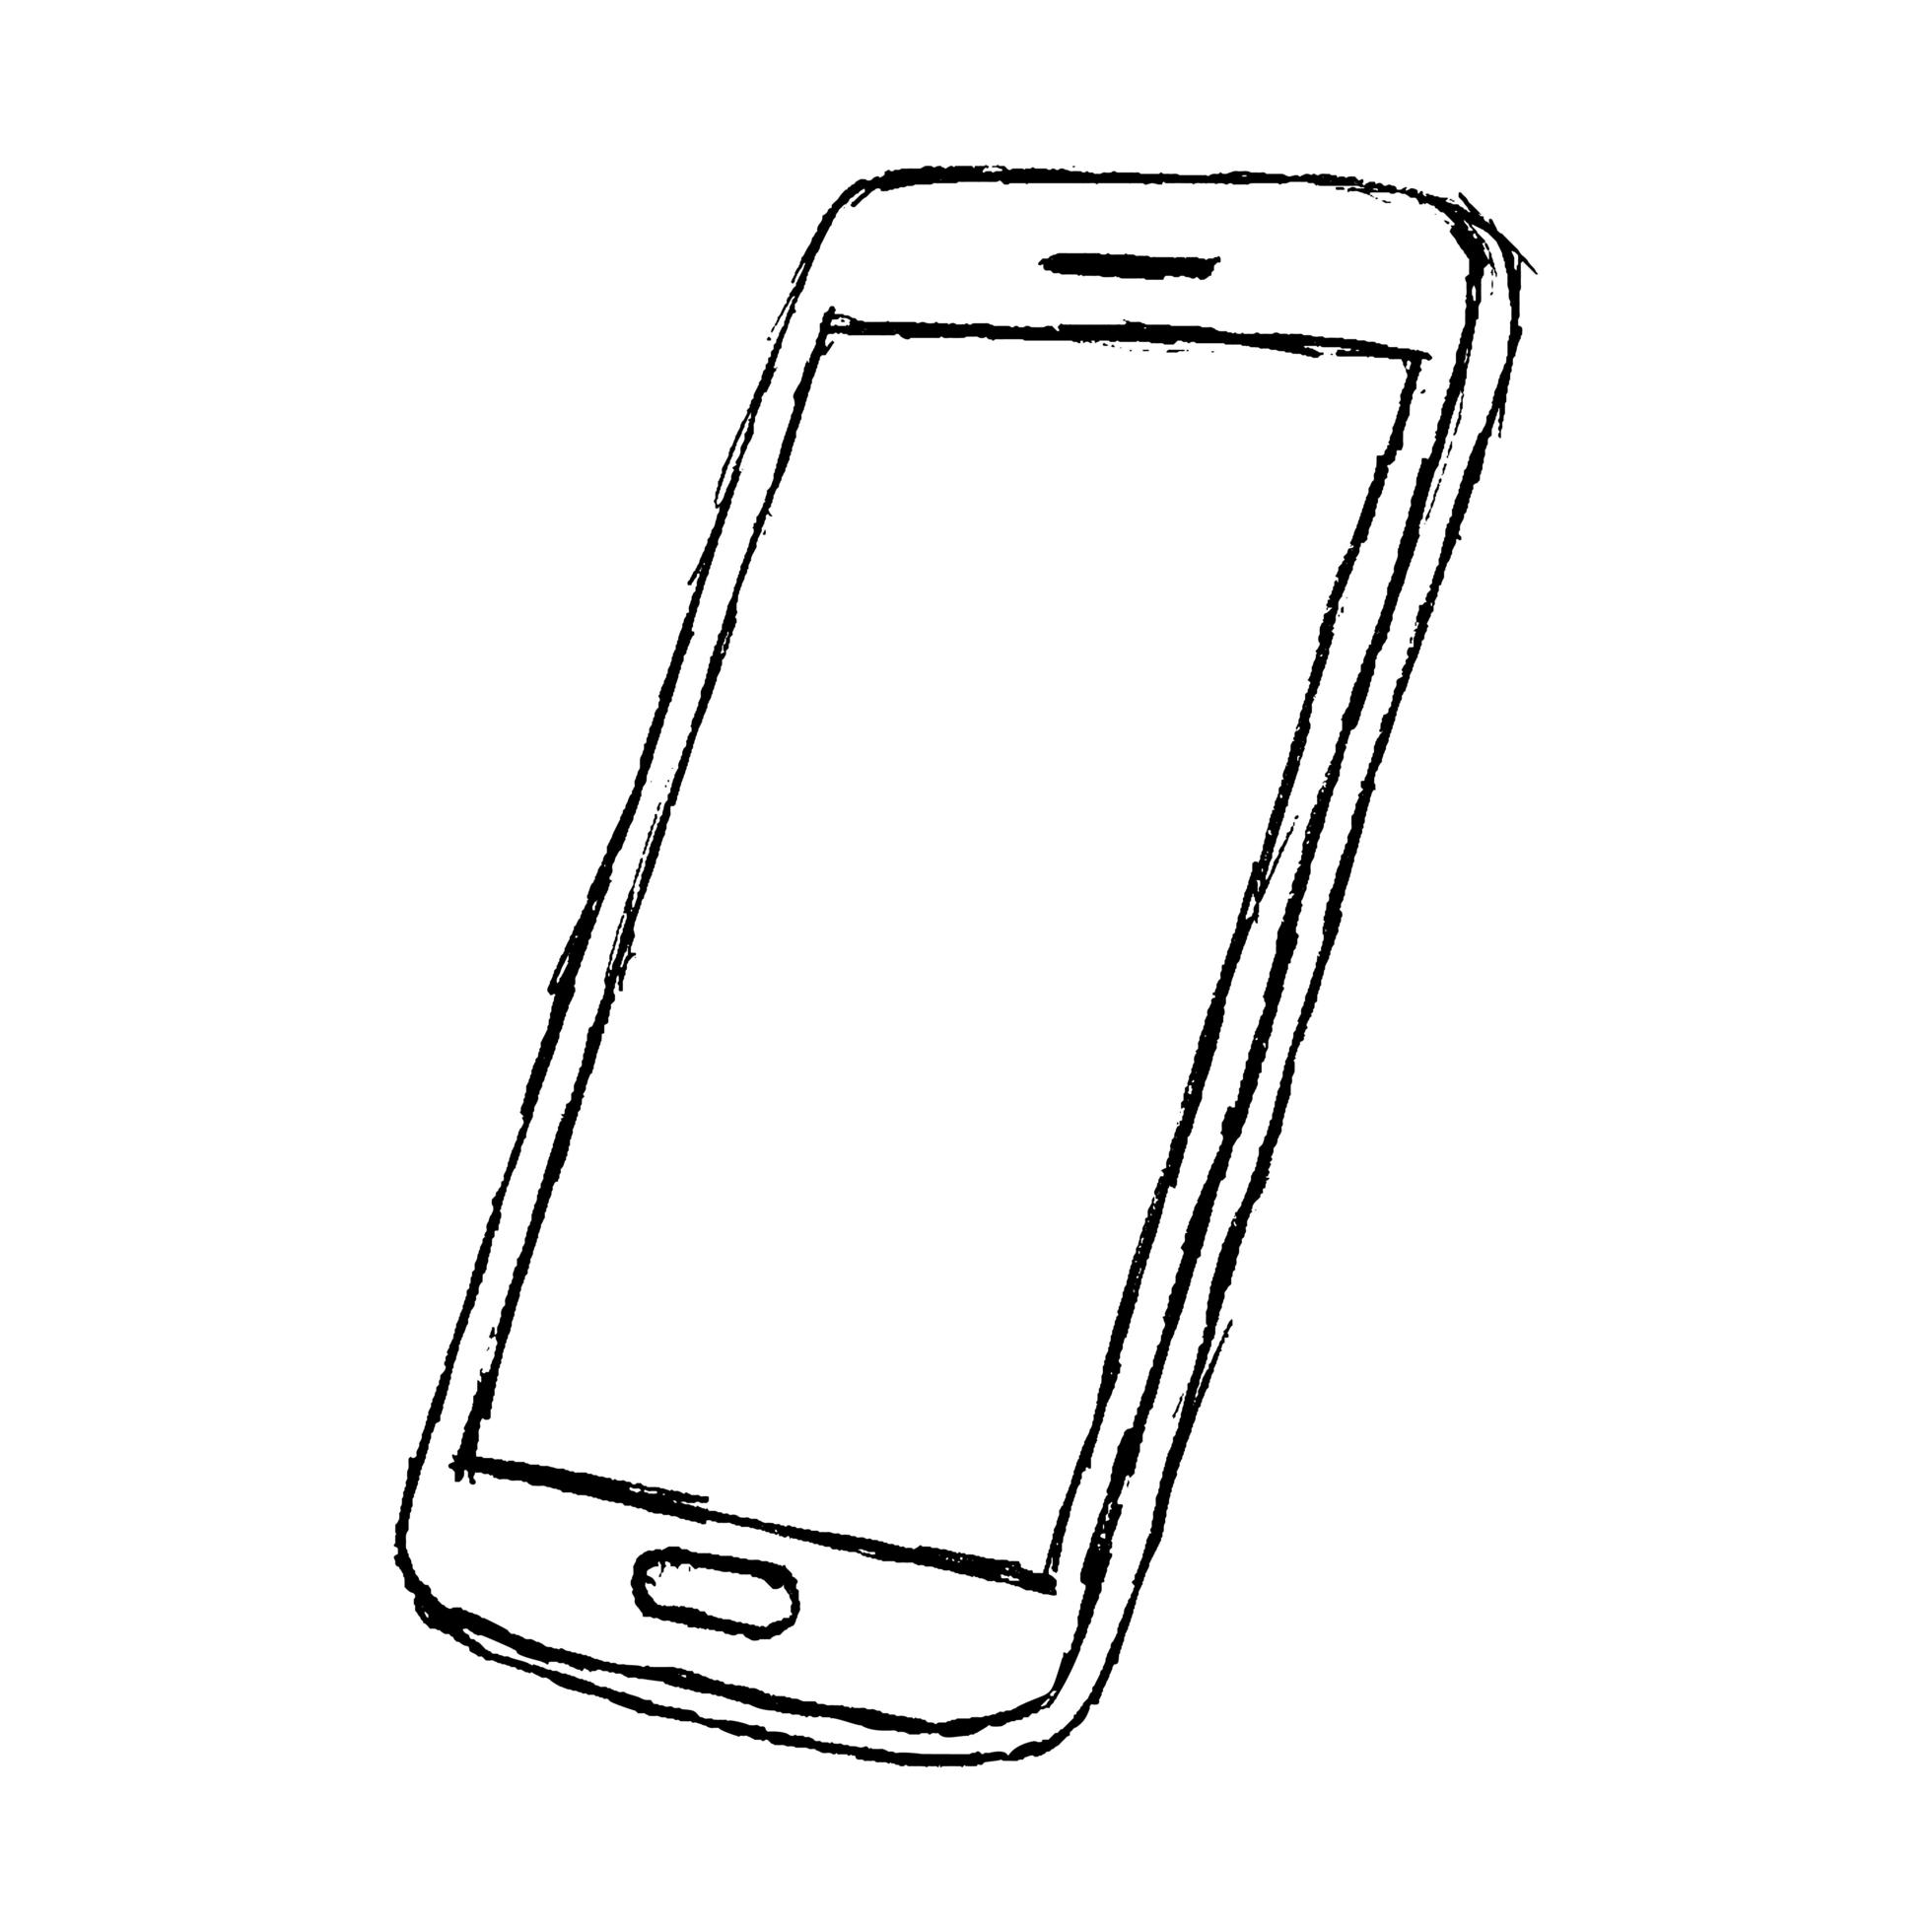
Starting to draw a phone is, quite honestly, a lot simpler than you might think. The key is to begin with the very basics, building up your picture one small piece at a time. You do not need to be an experienced artist to make something that looks really good. Many people find that breaking down something like a phone into its simplest forms makes the whole thing feel much less intimidating. For instance, think of a phone as basically a rectangle with rounded corners; that is your starting point, more or less. This method, you know, helps anyone, even young children, create a decent picture of a phone without much fuss.
The first step in any phone drawing is to put down the main outline. This means lightly sketching the overall shape of the phone using your pencil. You are just trying to get the general size and proportion down, so do not press too hard. You can always adjust these initial lines later, which is pretty convenient. This beginning stage is, in some respects, like setting up the foundation for a small building; you want it to be sturdy and in the right spot before you add anything else. It is a very forgiving process, so just try to get the basic form right.
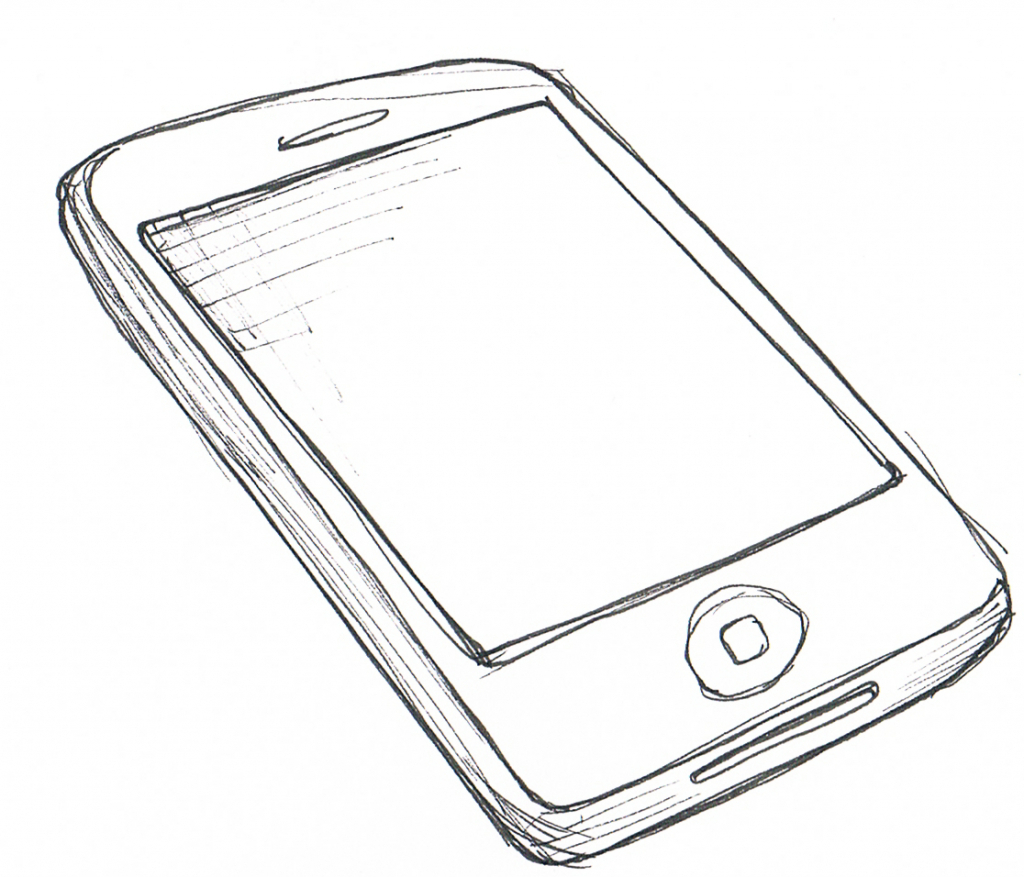
After you have the main shape, you will then start to think about the different parts that make up the phone's front. This includes where the screen will be, the little opening for the speaker, the camera lens, and any buttons. Each of these elements also starts with a simple shape, like a smaller rectangle for the screen or a tiny circle for the camera. It is a step-by-step process, which, you know, makes it very manageable for anyone, no matter their drawing background. Just take your time with each bit, and you will see your phone drawing come together nicely.
Basic Shapes for Your Phone Drawing
When you are making a phone drawing, the secret, if there is one, is to see the object not as a complicated piece of technology, but as a collection of basic geometric forms. A phone, for instance, is primarily a rectangle. You start by drawing that main rectangular body. If your phone has rounded corners, you can then gently curve those edges after you have the basic rectangle down. This initial shape is, basically, the skeleton of your drawing, giving it structure.
Once the main body is sketched, you then consider the screen. This is typically another rectangle inside the first one, usually taking up most of the phone's front face. Make sure to leave a little border around the edges, as phones usually have a bezel. This helps your phone drawing look more true to life. You might also want to think about the aspect ratio of the screen; is it tall and narrow, or a bit wider? That will affect how you draw this inner rectangle, naturally.
Then, there are the smaller but important details that also begin as simple shapes. The speaker at the top of the phone, for example, might be a tiny, thin rectangle or a small oval. The camera lens on the front is almost always a small circle. If there are any physical buttons, like a home button or volume controls, those too can be drawn as small circles or very slender rectangles. Breaking it down this way makes the entire phone drawing process, you know, much less overwhelming and more like a puzzle you are putting together.
Adding the Details to Your Phone Drawing
Once you have the main forms of your phone drawing in place, it is time to bring it to life by adding the finer points. These are the elements that make your picture truly recognizable as a phone. After you have the general outline and the screen area marked out, you will want to go back and refine those lines, making them a little darker where they should be more prominent. This helps to give your phone drawing a bit more definition, obviously.
Consider the small features that give a phone its character. The speaker, for instance, is often a very thin line or a series of tiny dots at the top of the screen. The front-facing camera is usually a small, distinct circle somewhere near the speaker. If your phone has a home button or other physical controls, you will want to sketch those in next. These might be small circles, ovals, or even just subtle indentations on the side or bottom. Each of these little additions helps to build up the overall look of your phone drawing, you know.
Finally, you can think about adding some color to your phone drawing. This can be as simple as filling in the screen with a dark shade and giving the phone's body a color that you like. Perhaps it is a sleek black, a shiny silver, or a bright, cheerful hue. Using pencils, crayons, or even some paints can make your phone drawing pop. Remember, the goal is to have fun with it, so feel free to experiment with different shades and tones. You might find that a touch of color really makes your phone drawing stand out, as a matter of fact.
Why is Phone Drawing Fun for Everyone?
Drawing a phone is, well, something that truly anyone can enjoy, from the youngest artists to those who have been sketching for years. One big reason for this widespread appeal is how familiar phones are to us all. We see them every single day, so there is an immediate connection to the subject matter. This familiarity means that even beginners can easily recognize what they are trying to draw, which makes the learning process feel much more rewarding, you know, right from the start.
For children and people who are just starting out with art, phone drawing offers a fantastic way to build fundamental skills without feeling overwhelmed. The basic shapes involved are straightforward, and the step-by-step nature of these drawing guides means that success is pretty much guaranteed if you follow along. It is a way to practice drawing lines, curves, and simple forms in a context that is both interesting and accessible. This kind of project, in fact, helps build confidence, showing new artists that they can create something cool with their own hands.
Even for people who have more experience with art, drawing a phone can be a really neat challenge. You can explore different levels of detail, try out shading methods, or even experiment with perspective to make your phone drawing look incredibly lifelike. It is a chance to refine your techniques and push your abilities further, using an everyday object as your model. So, whether you are picking up a pencil for the first time or you are looking for a new subject to sketch, making a picture of a phone is a genuinely enjoyable and worthwhile activity for, honestly, just about anyone.
What Tools Do You Need for Phone Drawing?
To start your phone drawing adventure, you do not need a whole lot of fancy equipment. In fact, you can begin with just a few basic items that most people already have lying around. The simplicity of the tools needed is, you know, one of the many reasons why this kind of drawing is so approachable for everyone. You are not going to need to spend a fortune to get started, which is pretty great.
The most important tool for any phone drawing is, quite simply, a pencil. Any regular pencil will do, but if you have one that is not too dark, that can be helpful for those initial light sketches. A good eraser is also a must-have. You will be making light lines at first, and having an eraser lets you fix any bits that do not look quite right without leaving smudges. These two items alone are enough to create a decent outline of a phone, as a matter of fact.
If you want to add more to your phone drawing, you might consider some extra items. For coloring, you could use colored pencils, crayons, or even some simple paints and brushes. These allow you to give your phone drawing a realistic color or even make it look bright and playful. Some artists also like to use different types of brushes for shading or adding texture. But honestly, to begin, just a pencil and paper are all you truly need to make a really good phone drawing.
Making Your Phone Drawing Look Real
If you are aiming for a phone drawing that truly seems to jump off the page, there are a few extra touches you can add to make it appear more lifelike. It is not about drawing every single tiny detail, but rather about creating the impression of depth and form. This involves, in some respects, playing with light and shadow, which can really transform a flat sketch into something with dimension.
One key method for making your phone drawing look more real is using shading. This means adding darker tones to areas that would be in shadow and leaving lighter areas where light would hit. Think about how light falls on a phone: typically, one side might be a bit darker than the other, and the screen itself might have a slight glow or reflection. By gradually building up layers of pencil, you can create smooth transitions from light to dark, which gives your phone drawing a much more solid appearance, you know.
Another technique is highlighting. This involves leaving small, very bright spots where light would intensely reflect off the phone's surface, like on the edge of the screen or a shiny button. These tiny bright spots can make a huge difference in how realistic your phone drawing looks, giving it a sense of polish and material. It is a bit like adding a sparkle to something. With a little practice in shading and highlighting, you will find that your phone drawing can go from a simple outline to something that looks almost ready to pick up, actually.
Can You Draw Phones from Different Angles?
Absolutely, you can learn to draw phones from various viewpoints, which adds a whole new dimension to your phone drawing abilities. While starting with a straightforward front view is a great way to build confidence, understanding how to show a phone in perspective can make your artwork much more interesting and dynamic. It is, you know, a way to show depth and how objects appear to change shape when viewed from different positions.
Drawing a phone in perspective means that instead of just seeing the flat front, you might see a bit of the side or the top as well. This involves using what artists call "vanishing points" to make lines appear to recede into the distance, giving the illusion of a three-dimensional object on a two-dimensional surface. For a phone drawing, this might mean that the top and bottom edges are not perfectly parallel but seem to angle in slightly, giving the impression of depth. It is a bit more involved than a simple front view, but it is definitely achievable with practice, apparently.
There are tutorials that break down how to draw a phone in perspective into easy steps, often just six of them. These guides typically show you how to start with a basic box shape that seems to go back in space, and then you adapt that box into the phone's form, adding rounded corners, the screen, and buttons in a way that matches the angle. So, yes, you can certainly learn to make a phone drawing that looks like it is sitting on a table or being held at an angle, which is pretty cool.
Tips for Your Next Phone Drawing Project
As you continue to explore phone drawing, there are a few ideas that can help you make your pictures even better and keep the process enjoyable. Remember, the goal is to have fun and express your creative side, so do not feel pressured to make everything perfect right away. Drawing is, after all, a skill that improves with practice, and every picture you make helps you get a little bit better, you know.
One helpful tip is to always start with light lines. This is especially true when you are just sketching out the main shape of your phone drawing. Light lines are much easier to erase or adjust if you make a mistake, which is pretty common when you are first putting ideas onto paper. Once you are happy with the basic form, you can then go over those lines more firmly, making them stand out. This method gives you a lot of freedom to correct things as you go, which is quite useful.
Another good idea is to look at real phones for inspiration. Notice the little details: where the buttons are placed, how the camera lenses look, or the way light reflects off the screen. You do not have to copy every single thing, but observing these details can give you ideas for your own phone drawing and help you make it more believable. Whether you are drawing a simple mobile phone or trying to capture the look of a new smartphone, paying attention to what you see can really help your art. So, just keep practicing, and you will see your phone drawing skills grow, honestly.
This guide has walked you through the exciting process of phone drawing, starting with simple shapes and lines, then moving to adding the screen, speaker, camera, and buttons. We looked at how easy it is for anyone, including kids and beginners, to create a great phone picture using straightforward methods. We also talked about the tools you will need, like a pencil and eraser, and how you can add shading and highlights to make your phone drawing look more realistic. Finally, we touched on drawing phones from different angles and offered some general advice to help you with your next creative project. The aim is to help you discover the joy of making your own phone pictures, step by step.
Vintage Phone Drawings
Anime Drawing Cell Phone – arthatravel.com
Flip Phone Drawing at PaintingValley.com | Explore collection of Flip
